
-Attention! HL is short for Half-Life, GS is short for GoldSource, tex is short for texture and Res is short for resolution. Let me take a random image to turn into a Half-Life texture. Remember, if you know how, you can turn any image into a GS tex.
IrfanView isn't forced. Any image editing software can get the job done, but IrfanView is recommended due to reliability.
Here we have a Depressionposting meme. As visible from the imagery, I require immediate psychological assistance. But before that, we will resize the image. The rules are simple, the dimensions should not exceed 512, and dimensions all should be divisible by 16. I will help you calculate the best dimensions for your image, using mine as an example. Yes, an use for the calculator app on your computer, at last.
To acquire the highest quality possible, we will fiddle with the limits. Let's see, the dimensions of my image are 828x657. I will set it so the highest side gets to be 512, acquiring the highest resolution possible for the tex. Let's do some math.
Nice number. This is the amount we will break the image to achieve a res acceptable for GS render. Let's part 657 to that fancy ass number.
Lovely! Lets round er up. 406 it is. Remember, the dimensions both need to be divisible by 16. Let's see if we achieved that.
Bummer. Let's round the outcome too, and multiply it with 16
Well done! We will now open our image in our image editing software. We will use it to resize the image. To do that in IrfanView, we use the top hand toolbox.
Image>Resize and Resample
What did we calculate again? Oh right, 512x400 it is. Enter the numbers and let the magic happen. We will afterwards save our image in the form of a BMP (Windows Bitmap) file.

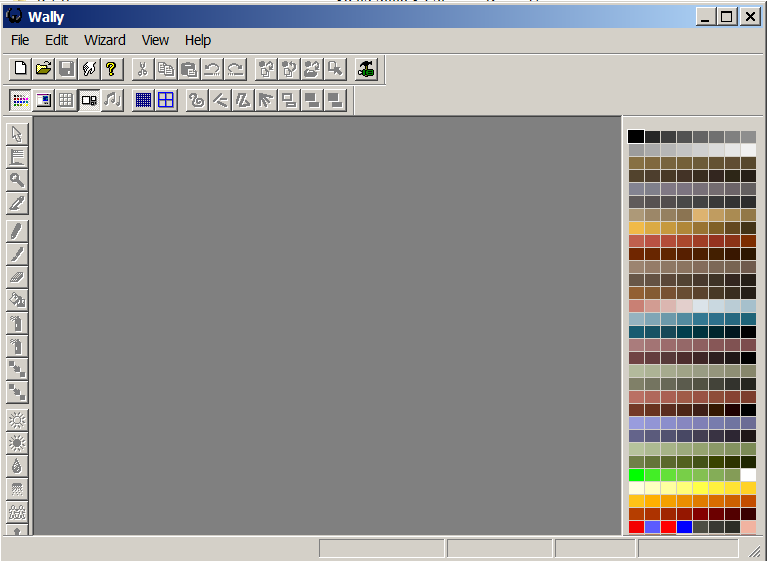
We now need Wally. Wally is a tex editor for Quake based games, it is hella old. Lets boot the sucker up.
Click File>New, select Half-Life Package. Afterwards you will be greeted by an all new shiny WAD file. WAD files are used for texture packages in GS. A WAD file can hold hundreds of texs, so you dont have to create a new WAD for every custom tex. Now hold and drag your BMP file into the new WAD file.
Save your WAD file. Save it directly into the GS mod you are mapping for, where all the other WADs rest. Your WAD is now ready for use in any mapping software. You are welcome.